| Building the Mini-Forge
|
1. The Base Tray
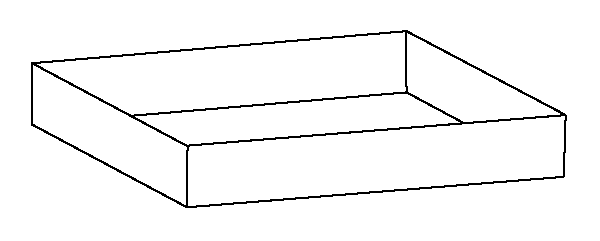
| Build this piece from the base up. I used 16 gauge steel for my base tray. The interior of this tray is 13.5" by 13.5" and will be lined using a total of 4 and a half standard soft brick which have a common size of 2-1/2" x 4-1/2" x 9". These are called "STRAIGHT" bricks.
|
|
These standard Insulated Fire Brick (IFB) are relatively soft, like a piece of chalk. I prefer to use a known brand like the AP Green "G23". You will need an old saw
and a used wood rasp
to shape the bricks to fit into the tray. |
2. Forge IFB Floor


|
Place the bricks without mortar (dry) so later if one or two bricks need replacing it is an inexpensive, quick repair. Here the forge floor is shown completed. |
|
3. The Combustion Chamber
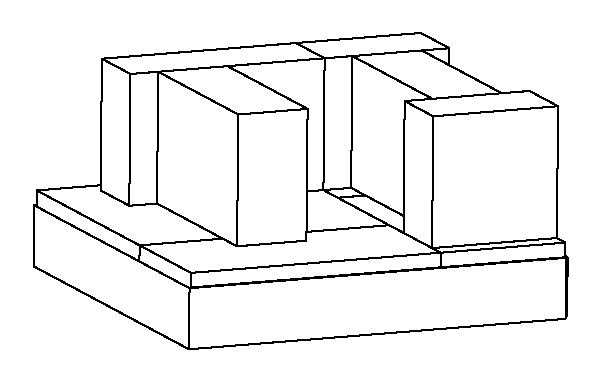
| The combustion chamber is a loose arrangement of whole and half bricks. I would suggest a beginning chamber interior size of 5" wide by 4.5" tall and 8" deep. |
|
The door brick is shaped using the rasp and saw. Its unique shape causes a sharp cutoff from hot to cold, a big advantage when you want to keep the cold end cold. The thin lip at the door closure allows you to be more accurate in placing and heating your work.

|
4. The Forge Door in Place
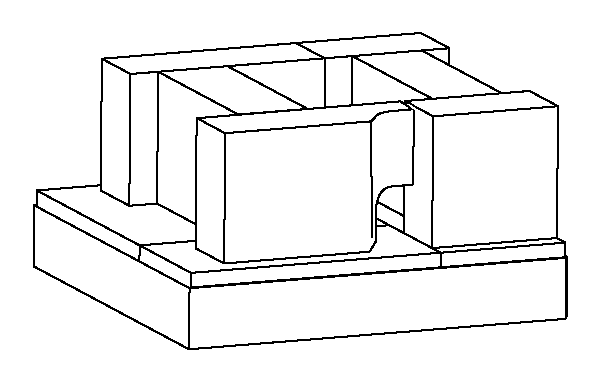
The door brick is just a bit shorter than the other wall bricks. This allows it to move freely at your bidding.
|
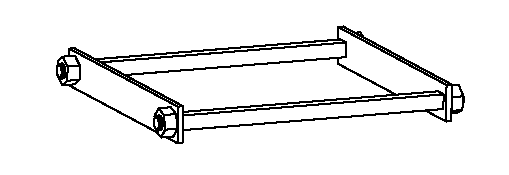
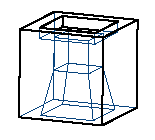
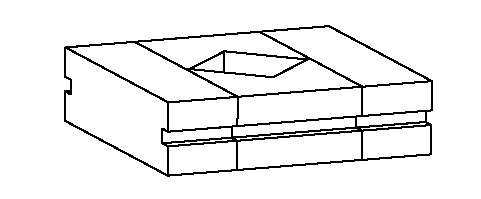
5. The Crown
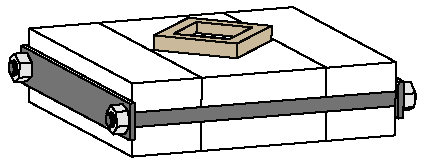
is made of three parts:

|
| The Iron Frame |
The Burner Block |
The Insulation Brick |
 |
 |
 |
|
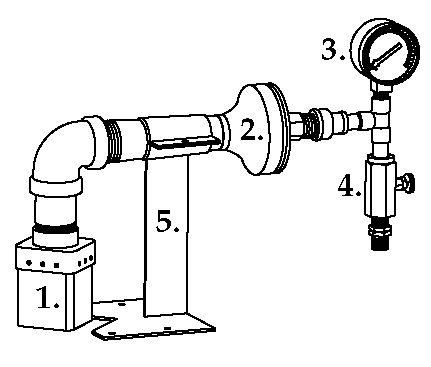
6. The Burner System
|
The Finished Masterpiece:
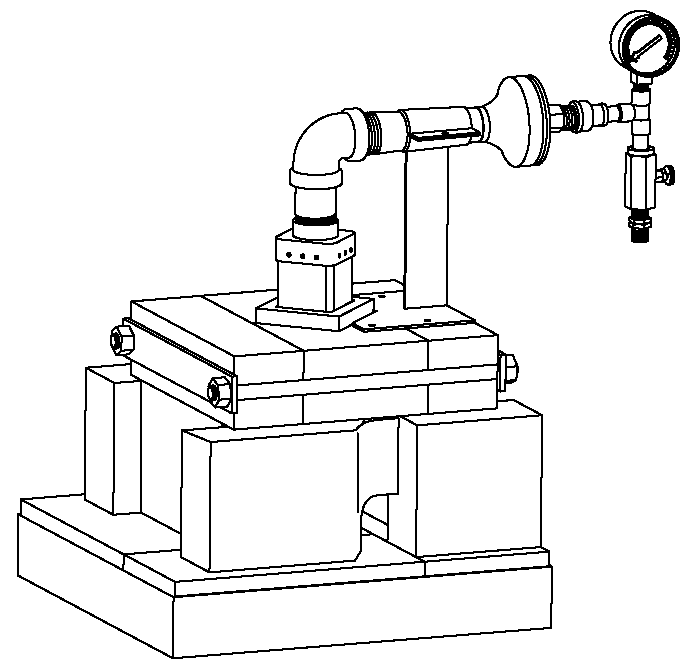
To Purchase a burner system or ask questions about the design
please call Dudley Giberson, 603-456-3569
|


