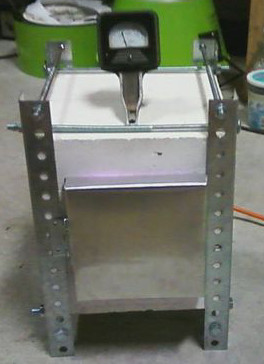
| http://www.instructables.com/id/Homemade-Electric-Kiln/ | |
 |
|
To begin with I must say that I had nothing to do with this design shown above. It was out of the blue that I began to receive requests for elements for this item. To date, (November of 2015) I have made maybe 20 elements for this project, and because there is continued interest it has been enough to make me want to put up this page to explain a few things that should be corrected. For the most part I have recommended using the E120-10-184 (1200 watts). Of course I am always curious how things work out and one customer wrote back: |
|
| It's worked very well actually. I've had it up to 1850 degrees and it wasn't maxed out. I did wire my kiln according to the diagram you sent and was a big improvement over the original design. This has been a popular project so hopefully you will make some money off of it! I appreciate your earnestness and help. | |
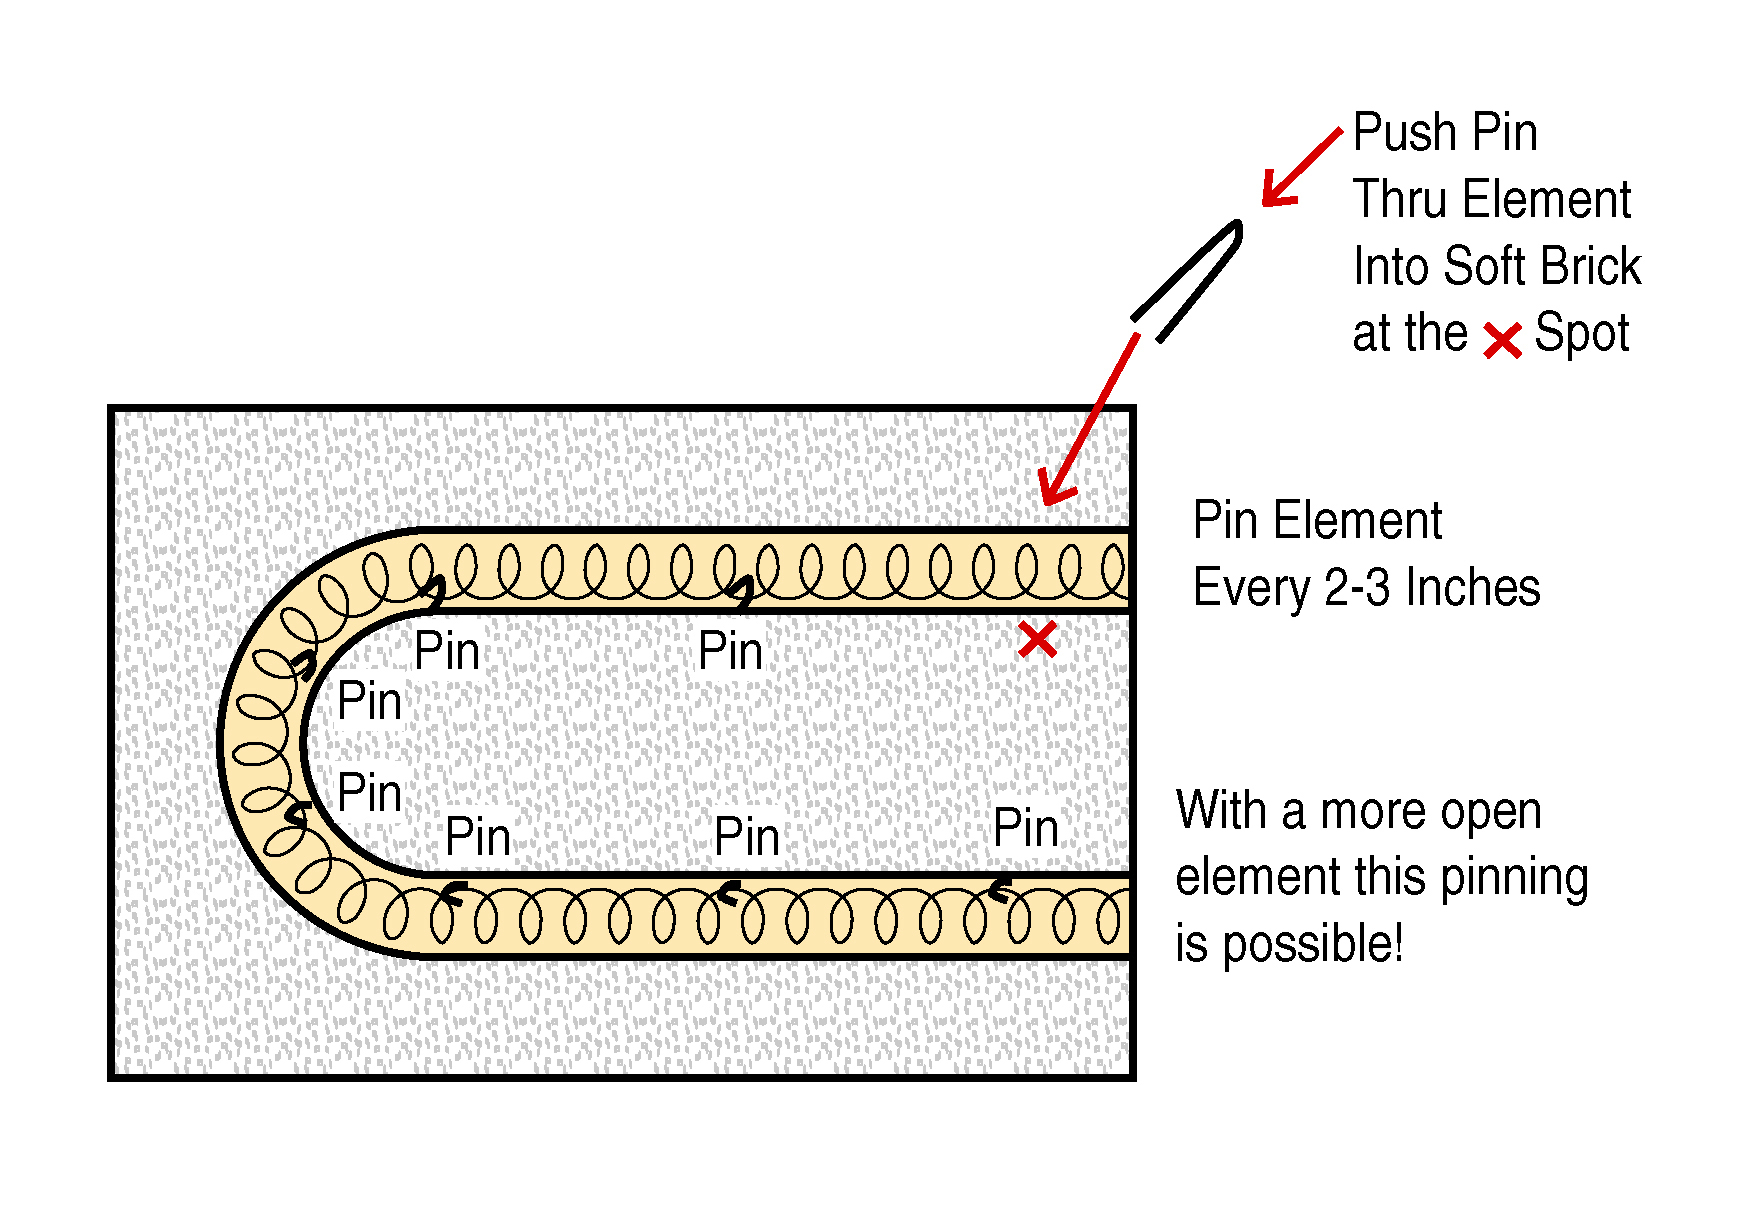
The website "instructables" suggests the element be made in 16 gauge wire which is the E120-14-164, shorthand for 120 volts, 14 amps, 16 gauge wire wound on the #4 arbor (1/4 inch ID). The closed coil section will be about 16.5 inches long with about 317 loops or coils and with an element groove in this project of 29.5" it makes a crowded poorly stretched installation where there are around 11 coils per inch in the finished install. This would be what I call a bad installation because the heat can not easily get out of the element without overly heating itself. Longevity does not seem to be part of the goal of this project. However, the facts are this element can be crammed into the groove and it costs $25.00. But I offer more than a word of caution: This element puts out 1680 watts and it is stuffed into a space of 0.07 cubic feet. For a small kiln of this sort needing to achieve 2000 deg. F. I often will recommend maybe 3000 watts per cubic foot. With this fact in mind the present element (the E120-14-164) is about 8 times more powerful than what would be required. What this really means is this element could easily overheat the interior of the kiln if you were to experience a "full-on" event (caused by a broken SSR or Relay or even a controller malfunction). There is another aspect to this problem: Elements of this sort use wire pins to hold them in place. The long-legged "u" shaped pins are hooked around one of the coil loops and pushed into the soft brick to keep the element held snugly in the groove. Without using this pinning technique the element will shortly be on the floor of the kiln in a pile having an electronic sparkfest/meltdown. |
|

